
Route planning on Amazfit – a comprehensive guide
Route planning on Amazfit watches isn’t just one thing. It includes GPX file imports, route creation in the Zepp Health app and, on some models, even building a route right from the watch using offline maps. The feature first showed up on the T-Rex 2 back in late 2022, and since then it’s spread across a bunch of outdoor-focused models through firmware and app updates.
The key thing to know is that Zepp Health calls all of this “route planning,” but it’s really a mix of different tools. Once you understand how they fit together, the whole system becomes a lot easier to use – and much less frustrating to find in the menus.
Jump to
What route planning means on Amazfit
At its core, route planning on Amazfit is about following a predefined path during an outdoor activity such as running, hiking or cycling. The watch shows your position relative to that path using GPS and onboard maps where available.
There are three ways routes enter the system:
- The first is importing an existing GPX file created in third party platforms.
- The second is creating a route inside the Zepp Health app by generating a drawing directly on a map.
- The third is creating a route on the watch itself, typically as a round trip route generated from your current location.
Not every Amazfit watch supports all three. Older and simpler models focus on route import and navigation. Newer outdoor watches extend this with app based planning and on watch route creation.

How route import works
Route import was the first navigation feature on Amazfit watches, and it’s still the most widely supported across the current lineup. It follows a structured process that works well for planned activities where the route is already available.
Most users start with a GPX file, though the Zepp Health app also accepts TCX and KML formats. These files typically come from third party mapping tools or get shared directly from other runners or cyclists.
After saving the file to the phone, the next step is to open it using the phone’s “Open with” menu and choose Zepp Health. That launches the app and begins the import. The other option is to send it from the third party app to Zepp Health.
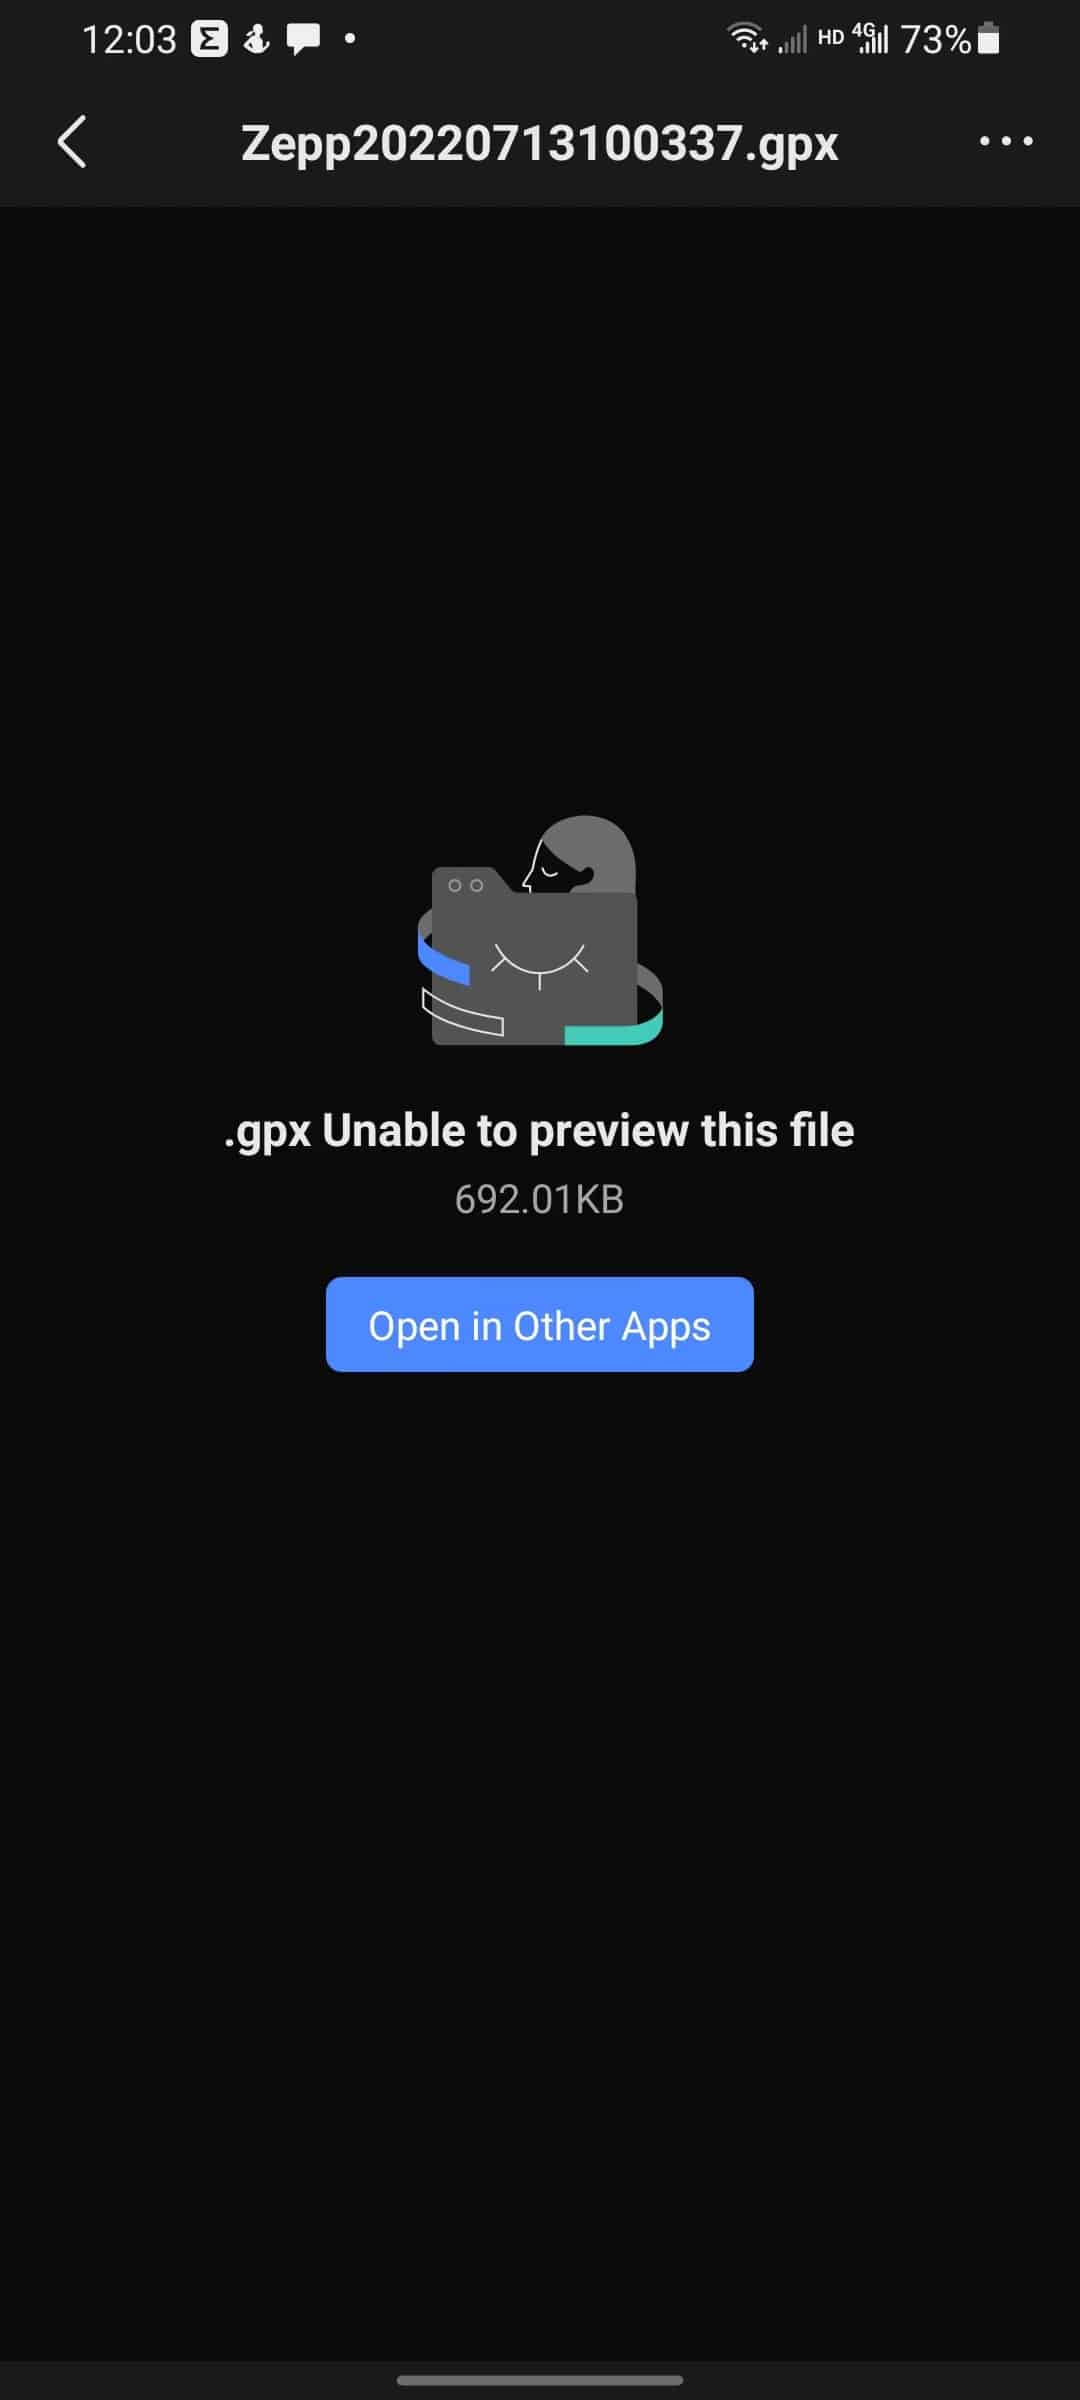

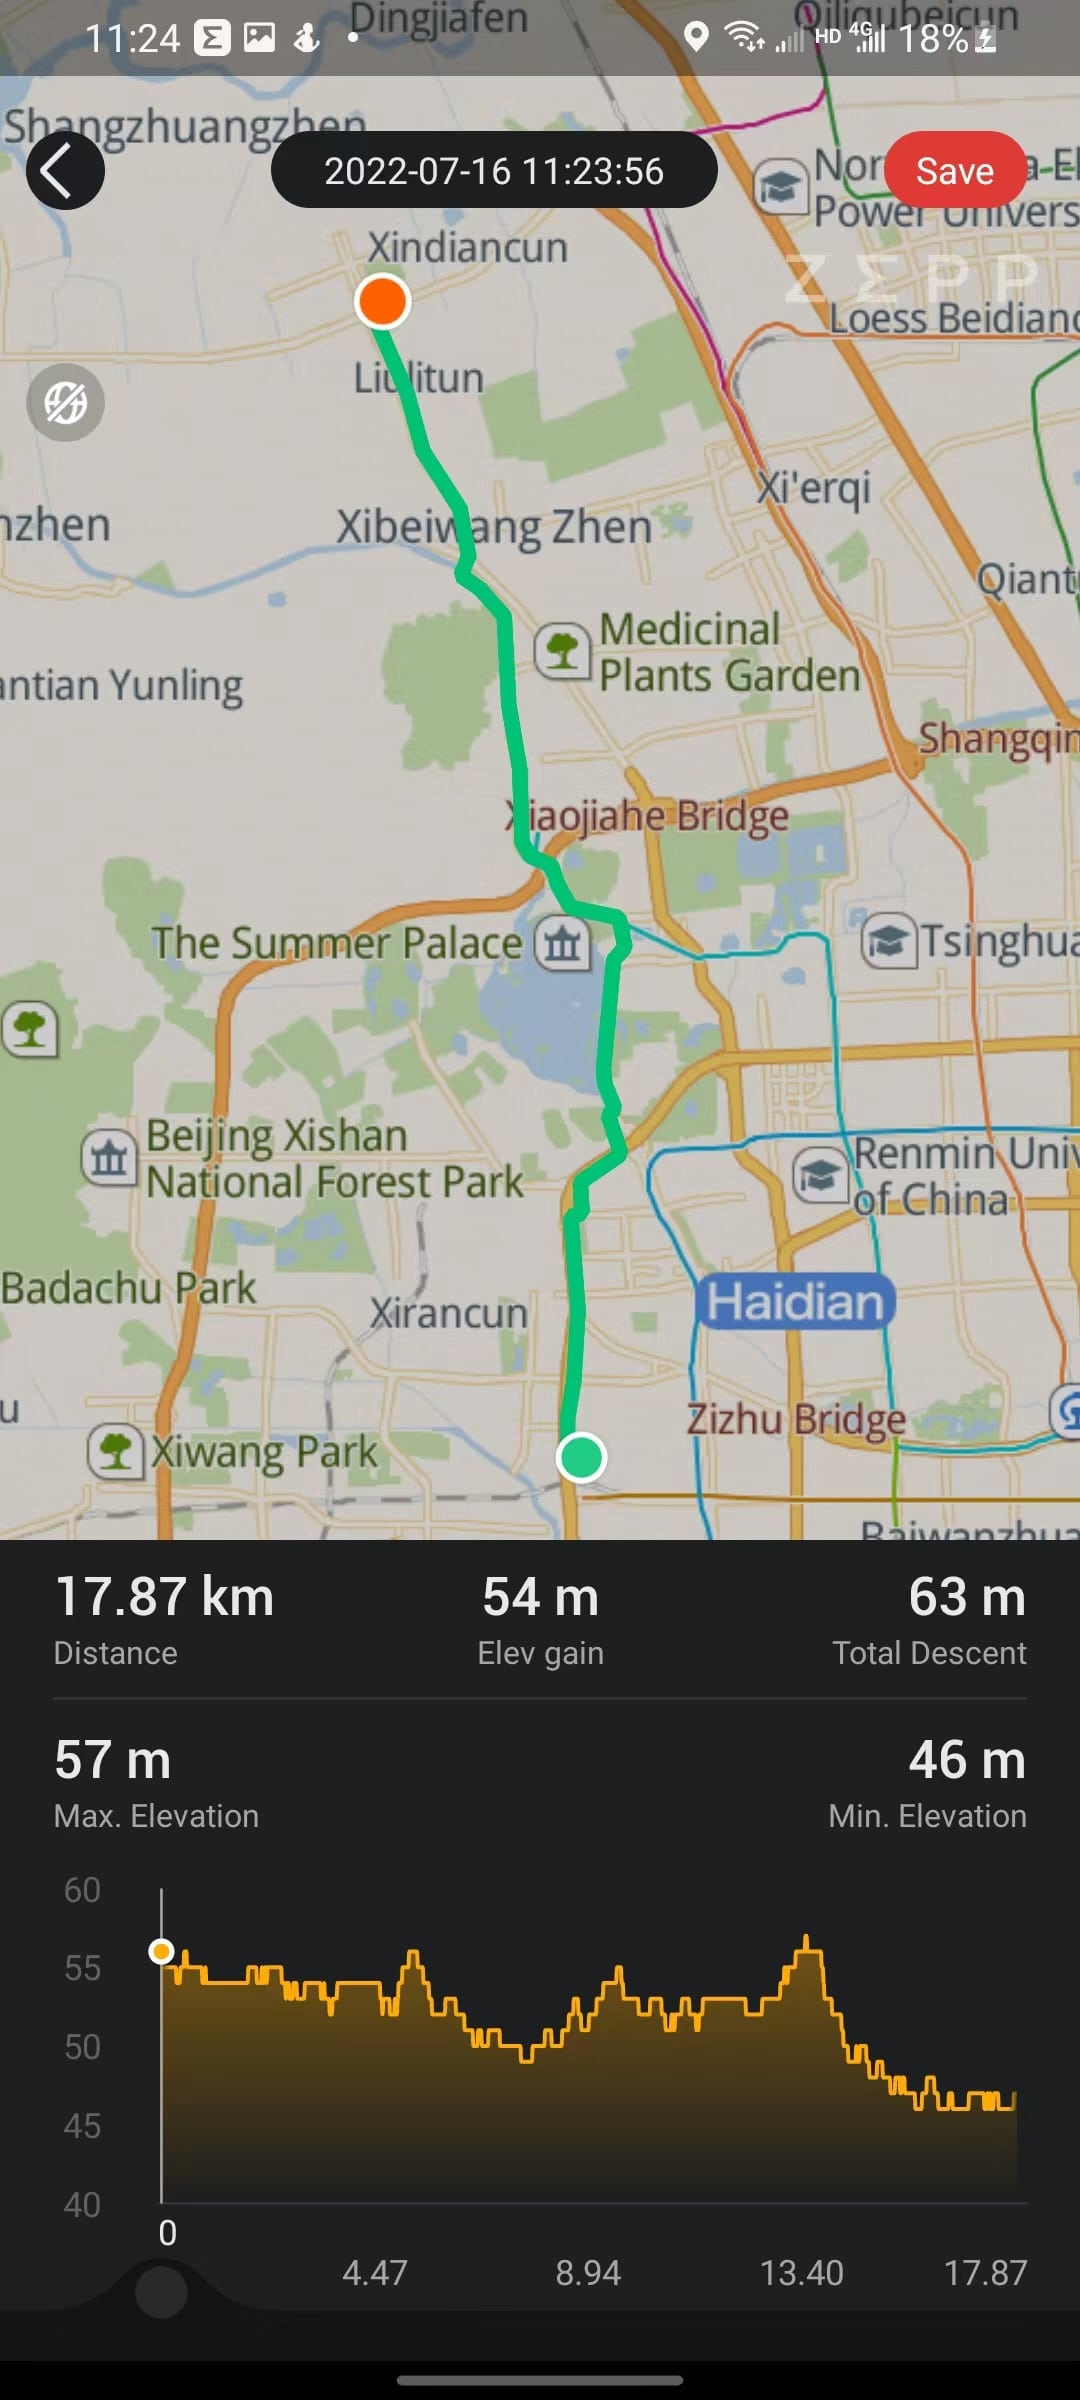
The app shows the route on a map, along with total distance, elevation gain and a full elevation profile. Even if the phone’s file browser can’t preview the file, the Zepp Health app still recognises it. Once reviewed, the user can save the route to the My Route section inside the app.
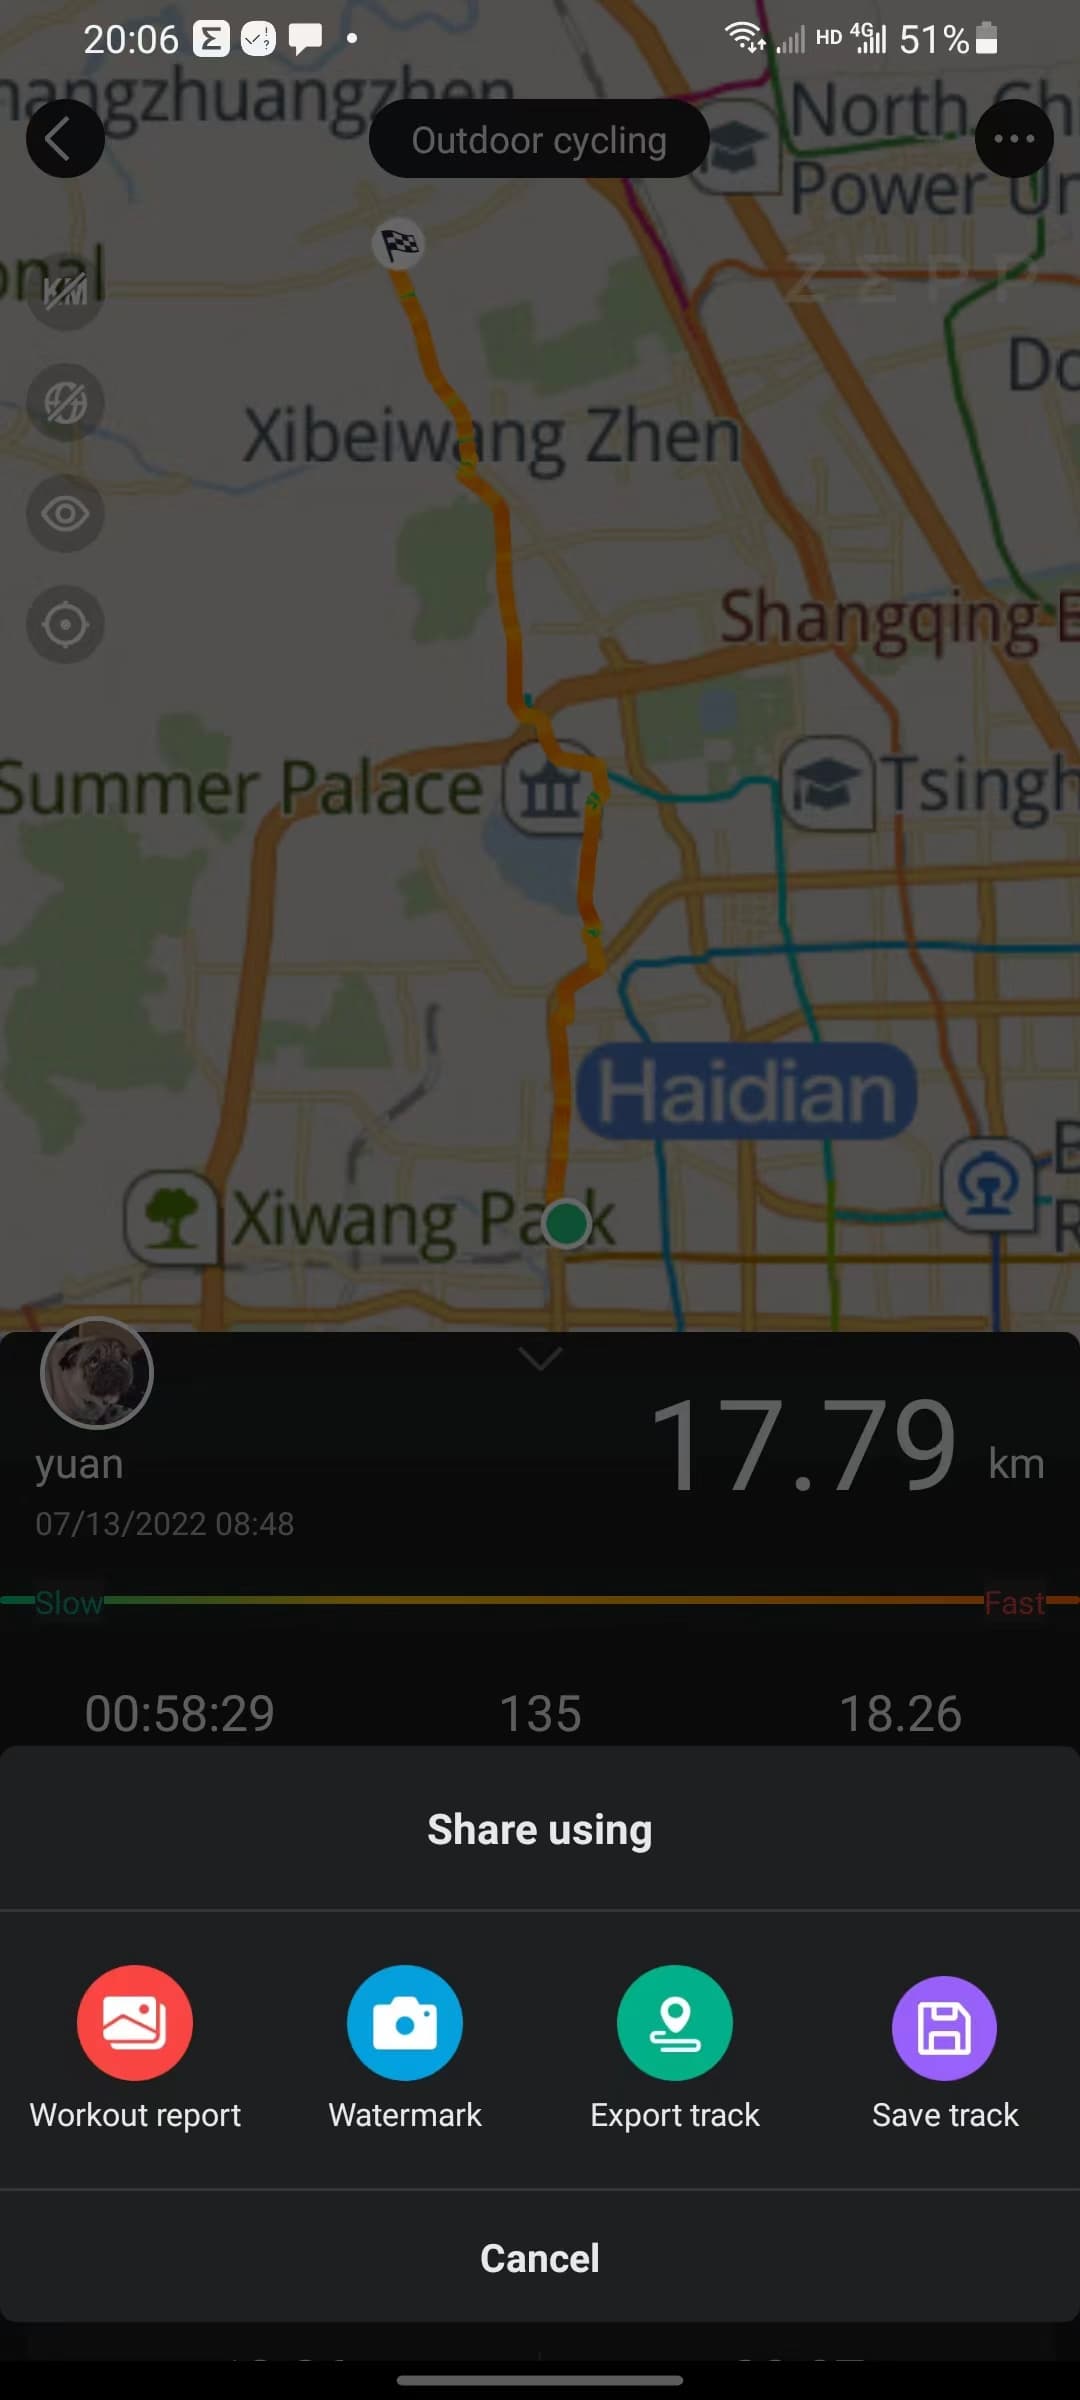
There’s also another way to build a route. From the Workout History section, the user can open a completed activity, tap the menu icon and select Save Track. This turns a past session into a reusable route.
After saving, the user sends the route to the watch. In any supported outdoor workout mode, the navigation settings link to the My Route list. From there, the user picks the route and loads it before starting the activity. The watch then uses that route to guide the user during the workout.
Creating routes in the Zepp Health app
App based route planning eliminates the need to search for GPX files or rely on third party platforms. It was introduced for the first time in Amazfit watches only a few months ago.
With this option everything happens inside the Zepp Health app, using built-in mapping tools that sync directly to the watch. A growing number of Amazfit watches supports this option via recent firmware updates.
To begin, open the Zepp Health app and tap Workout at the bottom of the screen. Navigate to More and select Create Route. The app first asks for the workout type, which determines where the route will appear on the watch.

After the map loads, tap to set a starting point. Each subsequent tap adds a new segment, allowing you to build the route point by point. It’s a quick way to create loops, out-and-back courses or improvised routes without needing external tools.

A vertical toolbar runs down the left side of the screen. It includes options like map layers, compass and scale, return to current location, planning settings, route tools and search. These become more useful when building longer routes or exploring less familiar areas.

Once the route is created, you can add waypoints. This option becomes available only after the main path is in place. Waypoints are added by tapping a location along the route, naming it, selecting a location type, and saving. They’re useful for flagging water stops, major turns or landmarks along the way.
After planning and waypoints are complete, tap Save Route. The app assigns a default name based on the region and workout type, but you can rename it. Routes remain fully editable. You can open any saved route to adjust the path, add or remove waypoints, or send it to your device. Additional options in the top right corner include sharing and deleting.
All saved routes appear under Workout → More → My Route. From there, you can manage the list, edit individual routes, view waypoint details or sync routes to the watch. Deletion is handled either through the menu or by swiping left on a route entry.
Once synced, the route appears on the watch under the same workout type selected during creation. Open the workout, go to Settings → Navigation → My Route, choose the route and start the activity. From that point on, it behaves just like an imported GPX track, guiding you with a map line or breadcrumb view depending on the device.
Creating routes directly on the watch
Finally, we get to on-watch route planning. This is the newest addition to Amazfit’s navigation features, available on select higher-end models such as the T-Rex 3 Pro and Balance 2. It focuses on speed and convenience, letting users build a route directly from the watch without needing the app or any advance setup.
The most common option is round-trip route creation:
- Open the map view on the watch and wait for GPS to lock.
- Press the main select button to open the Navigation menu.
- Choose Create Round Trip Route.
- Set the workout type, target distance, and preferred direction if needed.
- The watch then generates a loop based on known paths and map data.
After generating a route:
- You can start the workout immediately, or
- Save it under My Route for later use.
- To delete a saved route, open it, swipe up and tap Remove.
Waypoint-based navigation is also available:
- Tap any point on the map after GPS locks.
- Choose either:
- Straight line navigation – draws a direct line to the target.
- Route navigation – calculates a proper path using map data (with a max range limit).
You can also store and reuse saved locations:
- Go to Navigation → My Location.
- Save your current position for later use.
- Use saved points with either straight line or route navigation.
- To remove a saved location, open it, swipe up, and confirm deletion.
During navigation:
- The watch tracks how closely you follow the route.
- If you drift more than 500 meters off course, it automatically triggers route recalculation.
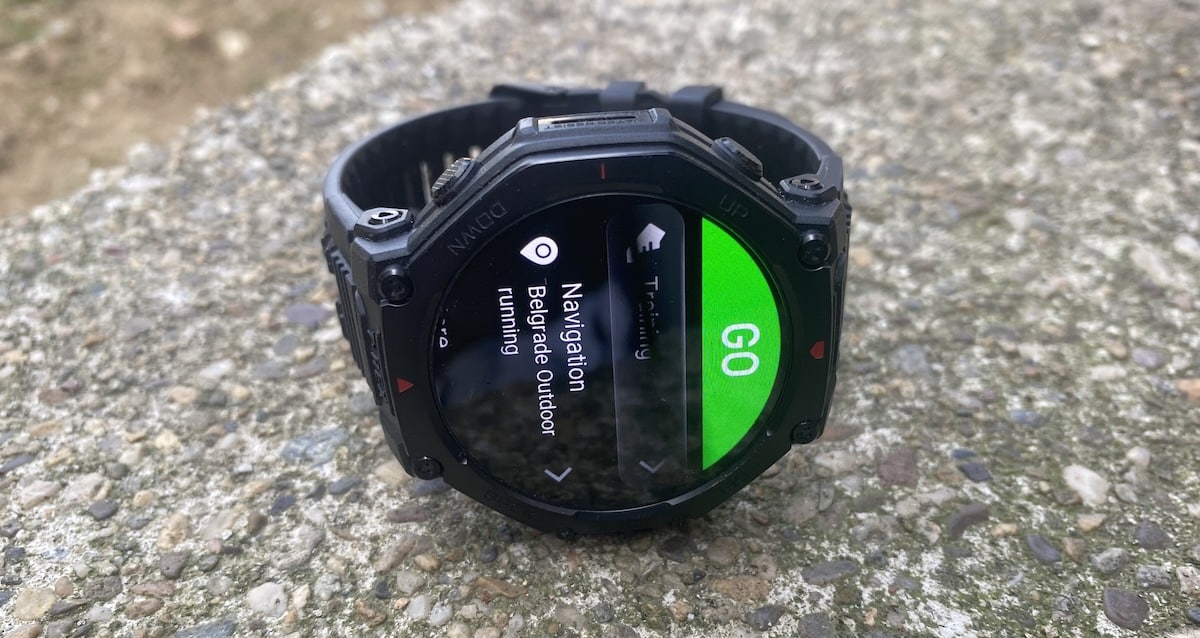
This setup is ideal for quick, unplanned outings or exploring unfamiliar areas without needing your phone. It trades some precision for speed, but it’s a useful feature when you just want to get moving.
Using a route during an activity
Once a route is on the watch, the actual usage is consistent regardless of how it was created.
You start by opening the relevant outdoor workout, then go into the workout settings and select Navigation, followed by My Route. After choosing a route, you start the activity as usual. From that point on, the watch uses GPS to track your position and displays it relative to the planned course.
On watches with offline maps, the route appears overlaid on mapped paths, roads or trails, which makes it easier to understand where you are heading. On simpler models, navigation relies mainly on a route line and your position marker. The core experience is still the same, but the amount of visual context varies by device.
Some Amazfit watches provide alerts or visual cues when you drift away from the planned route, which is useful during longer runs or hikes when attention drops. Many models also include a return option, allowing you to navigate back to the starting point either by retracing your recorded path or by following a straight line back.
This final step is where route planning turns into navigation. Once the workout begins, the earlier planning choices fade into the background and the watch simply guides you along the course you set.
Which Amazfit watches support route planning
Route import and navigation are supported on a wide range of Amazfit watches, particularly outdoor and performance focused models such as the T Rex series, Falcon, Cheetah models, GTR 4, GTS 4, Balance and newer Active and Bip devices.
App based route creation generally appears on watches that support navigation and receive newer Zepp Health app features.
As mentioned, on watch route creation is currently reserved for models with offline maps and stronger navigation tools, including newer T Rex variants and Balance generation watches. The Balance 2 was just recently added to this list.
Of course, support depends on both the watch firmware and the Zepp Health app version. So make sure you are on the latest version of both.
Why it works well when set up properly
Route planning on Amazfit is not about replacing dedicated bike computers or high end navigation watches. It focuses on covering the common use cases without adding friction.
The key is knowing which entry point fits your situation. GPX import works for planned routes. App creation works for quick planning. On watch generation (on supported devices) works for spontaneous sessions.
Once that clicks, route planning becomes a practical tool rather than a feature you try once and forget.
Subscribe to our monthly newsletter! Check out our YouTube channel.
And of course, you can follow Gadgets & Wearables on Google News and add us as a preferred source to get our expert news, reviews, and opinion in your feeds.